Building a home is one of the biggest investments you will ever make, but do you know what actually happens between an empty plot and a completed house? Every stage, from foundation to finishing, requires the right planning, materials, workmanship, and quality checks.
In this guide, you’ll discover the building construction process step by step, including what happens at each stage and what you should look for. With RR INFRA, you can approach construction with better planning, professional execution, and quality-focused supervision from start to finish.
Key Takeaways
- Proper planning is the foundation of a successful construction project.
- The building construction process includes design, approvals, site preparation, foundation, structural work, and finishing.
- Quality materials and skilled workmanship improve building durability and safety.
- Regular inspections help identify construction issues early.
- Proper budgeting and project supervision can help control costs and delays.
- Choosing an experienced construction partner can make the overall process smoother.
What Is the Building Construction Process?
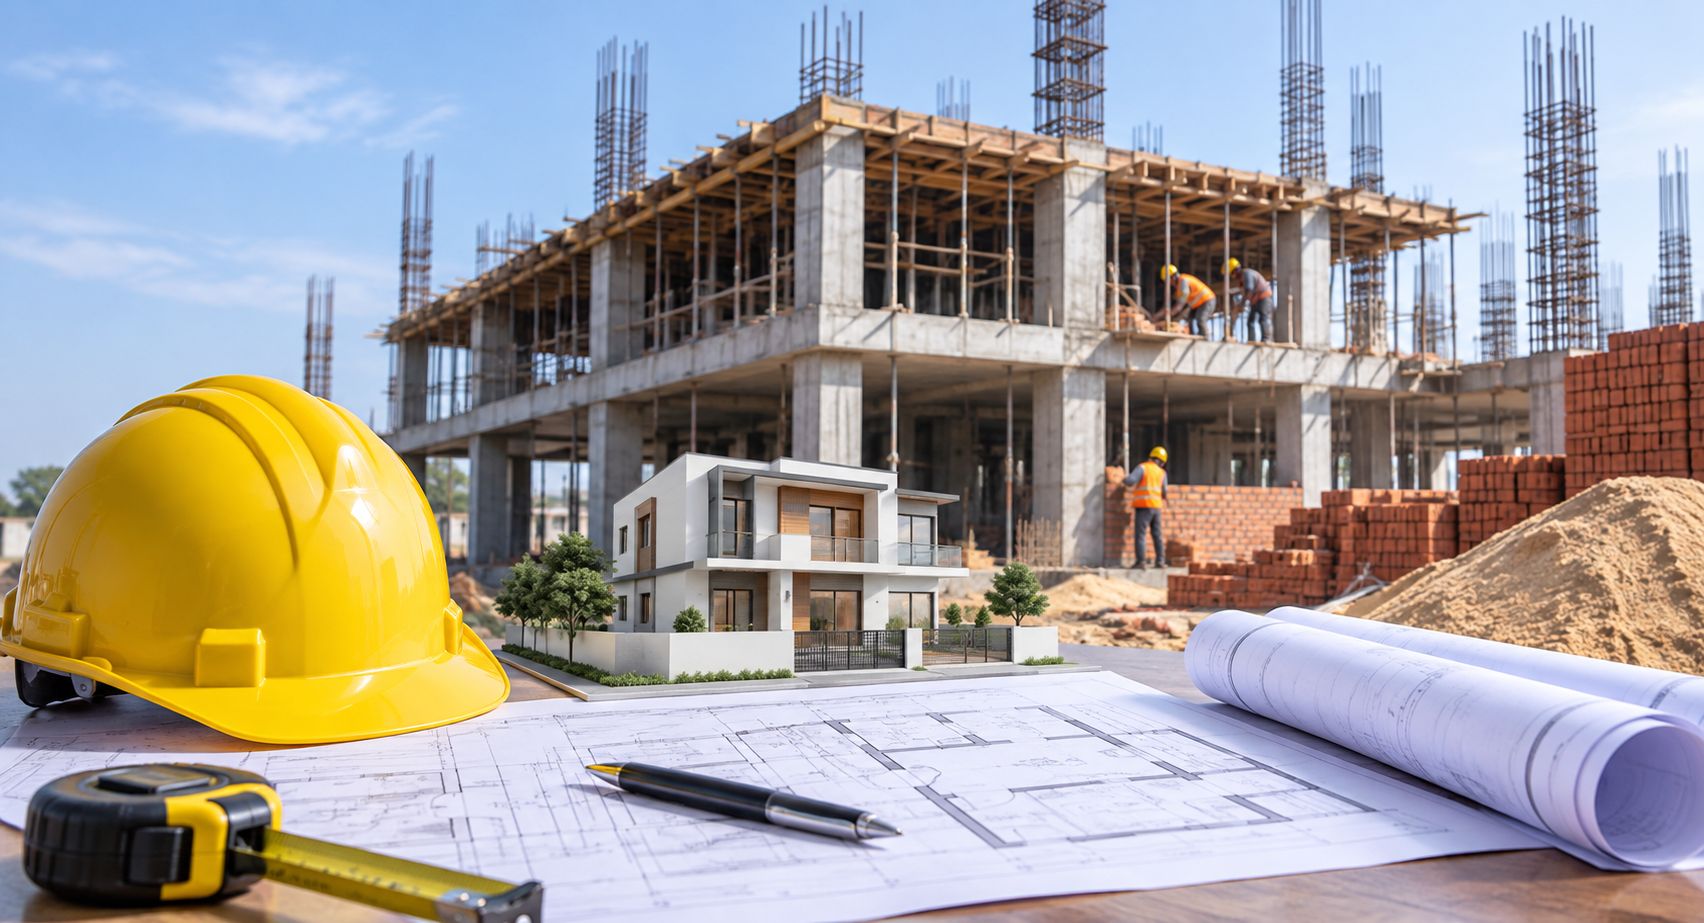
The building construction process is the series of activities involved in converting a construction plan into a completed building. It usually starts with planning and site assessment and ends with final inspection and handover.
The major stages include:
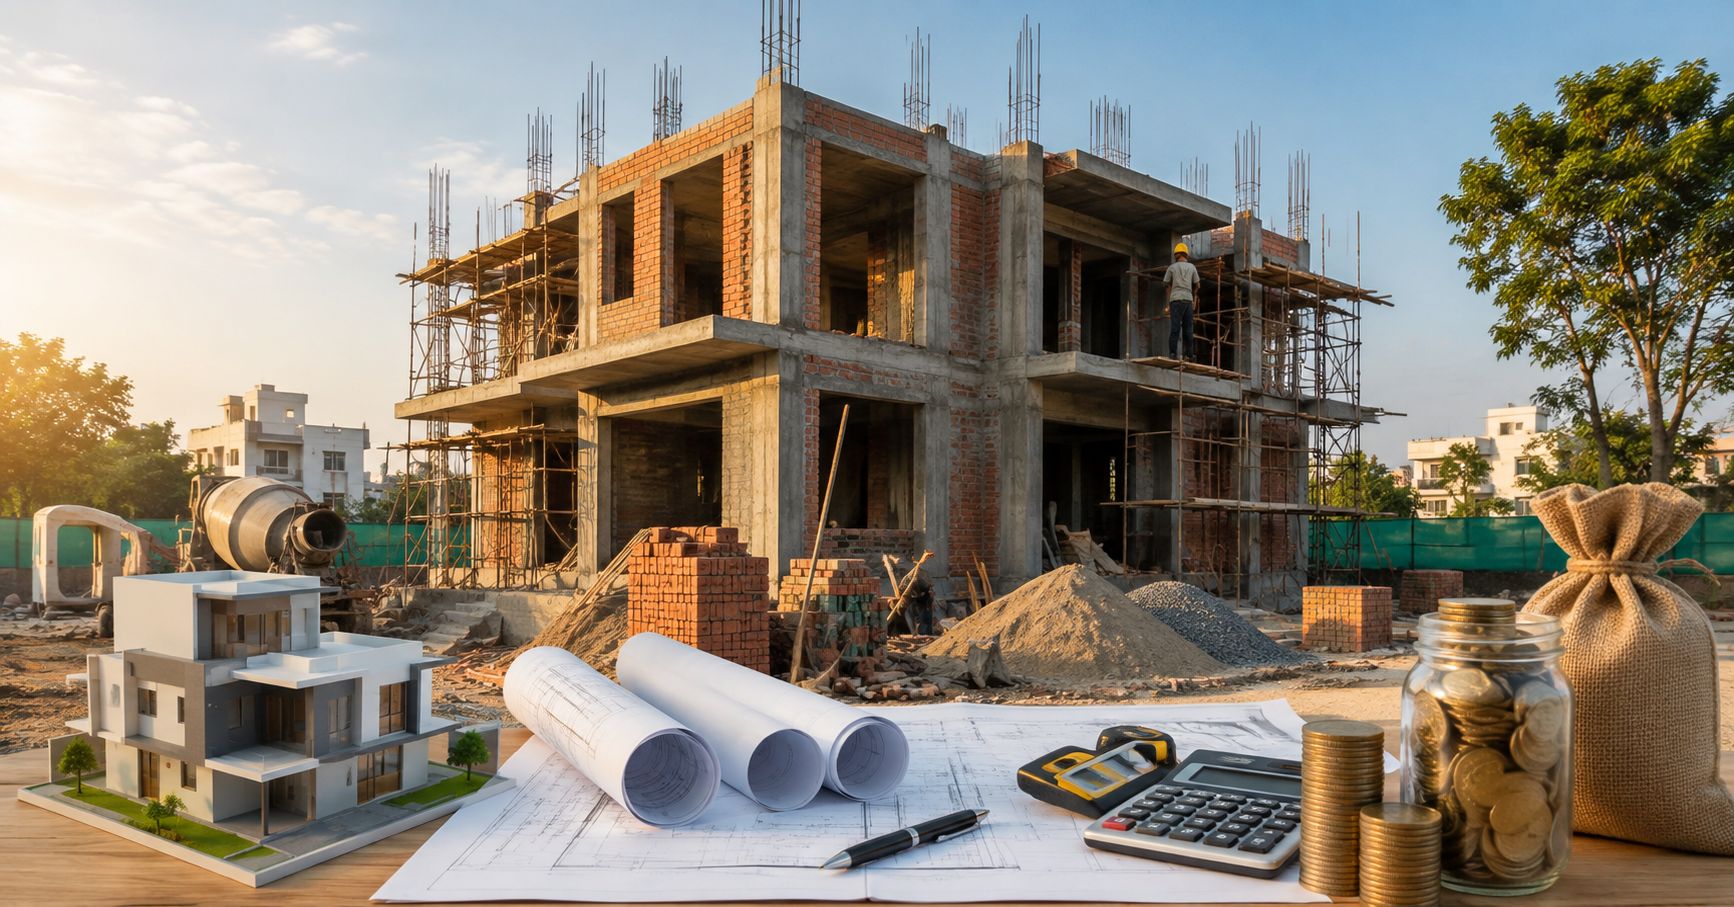
- Planning and budgeting
- Site inspection
- Architectural design
- Structural planning
- Approvals and permissions
- Site preparation
- Foundation construction
- Plinth construction
- Columns, beams, and slabs
- Wall construction
- Plumbing and electrical work
- Plastering
- Flooring and tiling
- Doors and windows
- Painting
- External development
- Final inspection and handover
Each stage should be completed carefully before moving to the next major phase.
Step 1: Planning and Budgeting
Planning is the first and one of the most important steps in building construction.
Before starting work, decide what type of building you want to construct, how much space you need, and what budget you can comfortably manage.
Your initial budget should consider:
- Land-related expenses
- Architectural and structural design fees
- Construction materials
- Labour costs
- Equipment and machinery
- Government approval fees
- Electrical and plumbing work
- Flooring and finishing
- External development
- Unexpected expenses
It is also wise to keep a contingency amount because construction costs can change during the project.
Step 2: Selecting and Inspecting the Site
The construction site needs to be checked before finalising the building design.
Important factors include:
- Soil condition
- Site dimensions
- Road access
- Drainage
- Water availability
- Electricity availability
- Surrounding development
- Site level
- Local construction regulations
A soil investigation can provide useful information about the ground and help engineers determine an appropriate foundation design.
Step 3: Architectural Design and Planning
After understanding the site, the architectural design can be prepared.
The design normally includes the floor plan, elevations, sections, room layouts, doors, windows, staircase, parking, and other important details.
A good design should provide:
- Efficient space utilisation
- Proper ventilation
- Natural lighting
- Convenient movement
- Practical room sizes
- Suitable parking
- Easy maintenance
Changes should ideally be finalised during the design stage because frequent changes during construction can increase costs and delay the project.
Step 4: Structural Design
Architectural design explains how the building should look and function, while structural design focuses on its strength and stability.
A structural engineer plans important components such as:
- Foundation
- Columns
- Beams
- Slabs
- Staircases
- Structural reinforcement
The structural design should be prepared according to the building requirements, site conditions, applicable standards, and engineering calculations.
Step 5: Construction Approvals and Permissions
Before beginning construction, the required plans and permissions should be checked according to the local authority and project type.
Depending on the location and building, this may involve:
- Building plan approval
- Development permissions
- Applicable NOCs
- Utility-related permissions
- Other required documentation
Starting construction without understanding the applicable approval requirements can create problems later.
Step 6: Site Preparation
Once planning and necessary permissions are in place, the site can be prepared.
This may include:
- Clearing the site
- Removing unwanted materials
- Levelling the ground where required
- Establishing temporary facilities
- Marking the building layout
- Arranging construction materials
The building layout is marked on the ground according to the approved drawings.
Accurate marking is important because errors at this stage can affect the positioning of the entire structure.
Step 7: Excavation and Foundation Construction
The foundation transfers the building's load safely to the ground.
The general process may involve:
- Marking foundation locations
- Excavating the soil
- Preparing the foundation bed
- Installing reinforcement where required
- Placing formwork
- Pouring concrete
- Allowing adequate curing
The type and dimensions of the foundation depend on factors such as soil conditions, structural requirements, and building design.
Foundation work should receive close supervision because problems at this stage can be difficult and expensive to correct later.
Step 8: Plinth Construction
After foundation work, the construction progresses toward the plinth level.
This stage can include:
- Foundation wall work
- Backfilling
- Soil compaction
- Damp-proofing measures where required
- Plinth beam construction
- Preparation for the ground floor
Proper compaction and moisture protection are important for reducing future problems such as settlement and dampness.
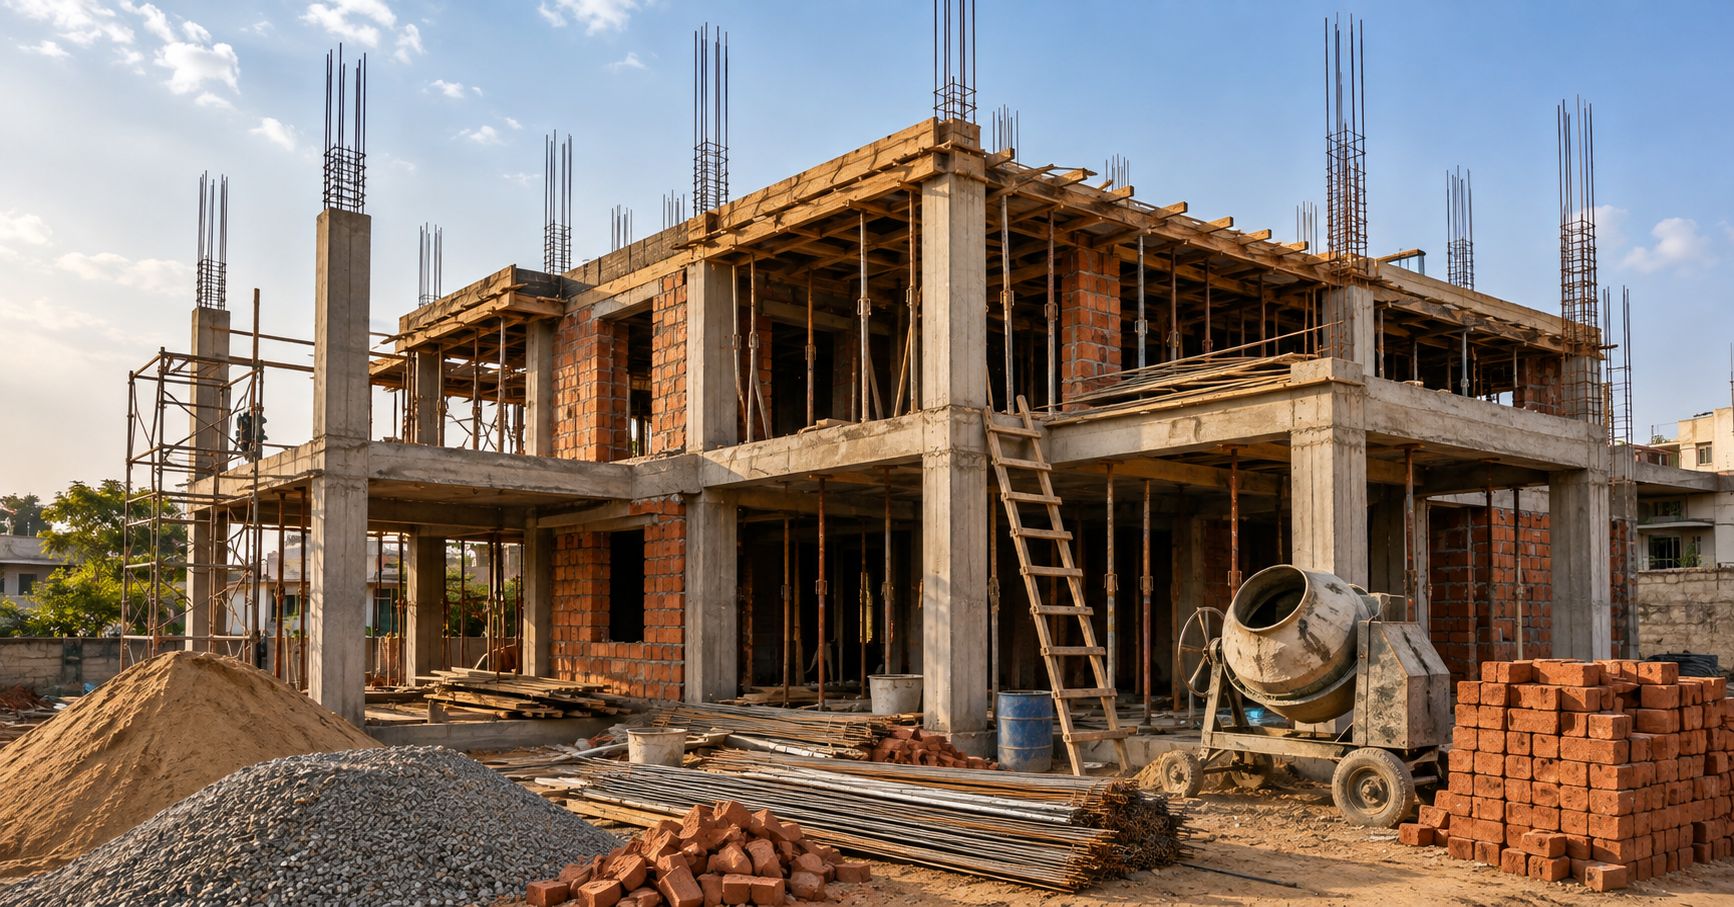
Step 9: Construction of Columns, Beams, and Slabs
The structural frame is then developed using the designed reinforcement, formwork, and concrete.
** Columns**
Columns transfer loads from upper portions of the building toward the foundation.
Beams
Beams support slabs and transfer loads to columns or other structural supports.
Slabs
Slabs form the floors and roof structure of many buildings.
At this stage, checks should be made for reinforcement placement, dimensions, alignment, formwork, concrete quality, and curing.
Step 10: Brickwork or Blockwork
Once the main structural frame is ready, wall construction can begin.
Walls may be constructed using suitable bricks or blocks depending on the project design.
Important checks include:
- Wall alignment
- Level and verticality
- Proper mortar joints
- Correct openings for doors and windows
- Plumbing and electrical provisions
- Proper curing where applicable
Accurate wall construction helps create a better surface for later plastering and finishing.
Step 11: Roofing and Waterproofing
Roofing is an important part of the building because it protects the structure from weather and water.
Waterproofing may be required in areas such as:
- Terrace
- Bathrooms
- Balconies
- Kitchens
- Other wet areas
Proper slopes and drainage should also be provided so that rainwater does not remain standing on the roof.
Waterproofing should be tested where appropriate before finishing materials are installed.
Step 12: Plumbing and Electrical Work
Plumbing and electrical systems are generally planned and installed before final plastering and finishing.
** Plumbing Work**
It can include:
- Water supply lines
- Drainage pipes
- Bathroom connections
- Kitchen connections
- Wastewater systems
- Testing for leakage
Electrical Work
It can include:
- Electrical conduits
- Wiring
- Switch points
- Light points
- Distribution boards
- Earthing
- Appliance points
These systems should be installed according to the approved design and applicable safety requirements.
Step 13: Plastering
After major wall services are installed, plastering can be carried out.
Plastering helps create a smoother and more uniform surface for painting and finishing.
The process may include:
- Surface preparation
- Internal plastering
- External plastering
- Levelling
- Corner finishing
- Curing
The finished surface should be checked for cracks, uneven areas, hollowness, and other visible defects.
Step 14: Flooring and Tiling
Flooring and tiling are important finishing stages.
Materials can include ceramic tiles, vitrified tiles, natural stone, or other suitable flooring products.
During installation, attention should be given to:
- Surface preparation
- Level
- Tile alignment
- Joint spacing
- Bathroom slopes
- Grouting
- Edge finishing
Wet areas should have suitable slopes toward drainage points to help prevent water accumulation.
Step 15: Doors, Windows, and Fixtures
Doors and windows are installed after the relevant wall and finishing work reaches the required stage.
Important checks include:
- Proper alignment
- Smooth operation
- Correct measurements
- Frame stability
- Lock and hardware quality
- Sealing around frames
Good installation improves both the appearance and functionality of the building.
Step 16: Painting and Final Finishing
Painting gives the building its final visual appearance while also providing surface protection.
A typical painting process includes:
- Surface cleaning
- Putty application where required
- Sanding
- Primer
- Paint coats
- Final touch-ups
The correct paint should be selected according to whether the surface is interior or exterior and according to the required durability.
Step 17: External Development Work
Construction is not limited to the main building.
External work may include:
- Boundary walls
- Main gate
- Driveway
- Parking
- Landscaping
- External drainage
- Outdoor lighting
- Utility connections
These elements complete the overall development of the property.
Step 18: Final Quality Inspection
Before the building is handed over, a detailed inspection should be carried out.
Check areas such as:
- Walls and plaster
- Flooring
- Doors and windows
- Electrical points
- Plumbing
- Drainage
- Waterproofing
- Paint finish
- Fixtures
- External areas
A snag list can be prepared to record incomplete work or defects that need correction.
For homeowners, regular quality checks throughout construction are better than waiting until the very end to identify problems. This is where professional supervision and systematic execution can make a significant difference, and RR INFRA can be considered when looking for an organised approach to construction work.
How Long Does the Building Construction Process Take?
There is no single timeline that applies to every building project.
Construction duration depends on factors such as:
- Building size
- Number of floors
- Design complexity
- Weather
- Labour availability
- Material availability
- Approval timelines
- Construction method
- Budget
- Changes made during construction
A simple residential project may have a very different timeline from a large or complex building. Proper planning can help reduce unnecessary delays.
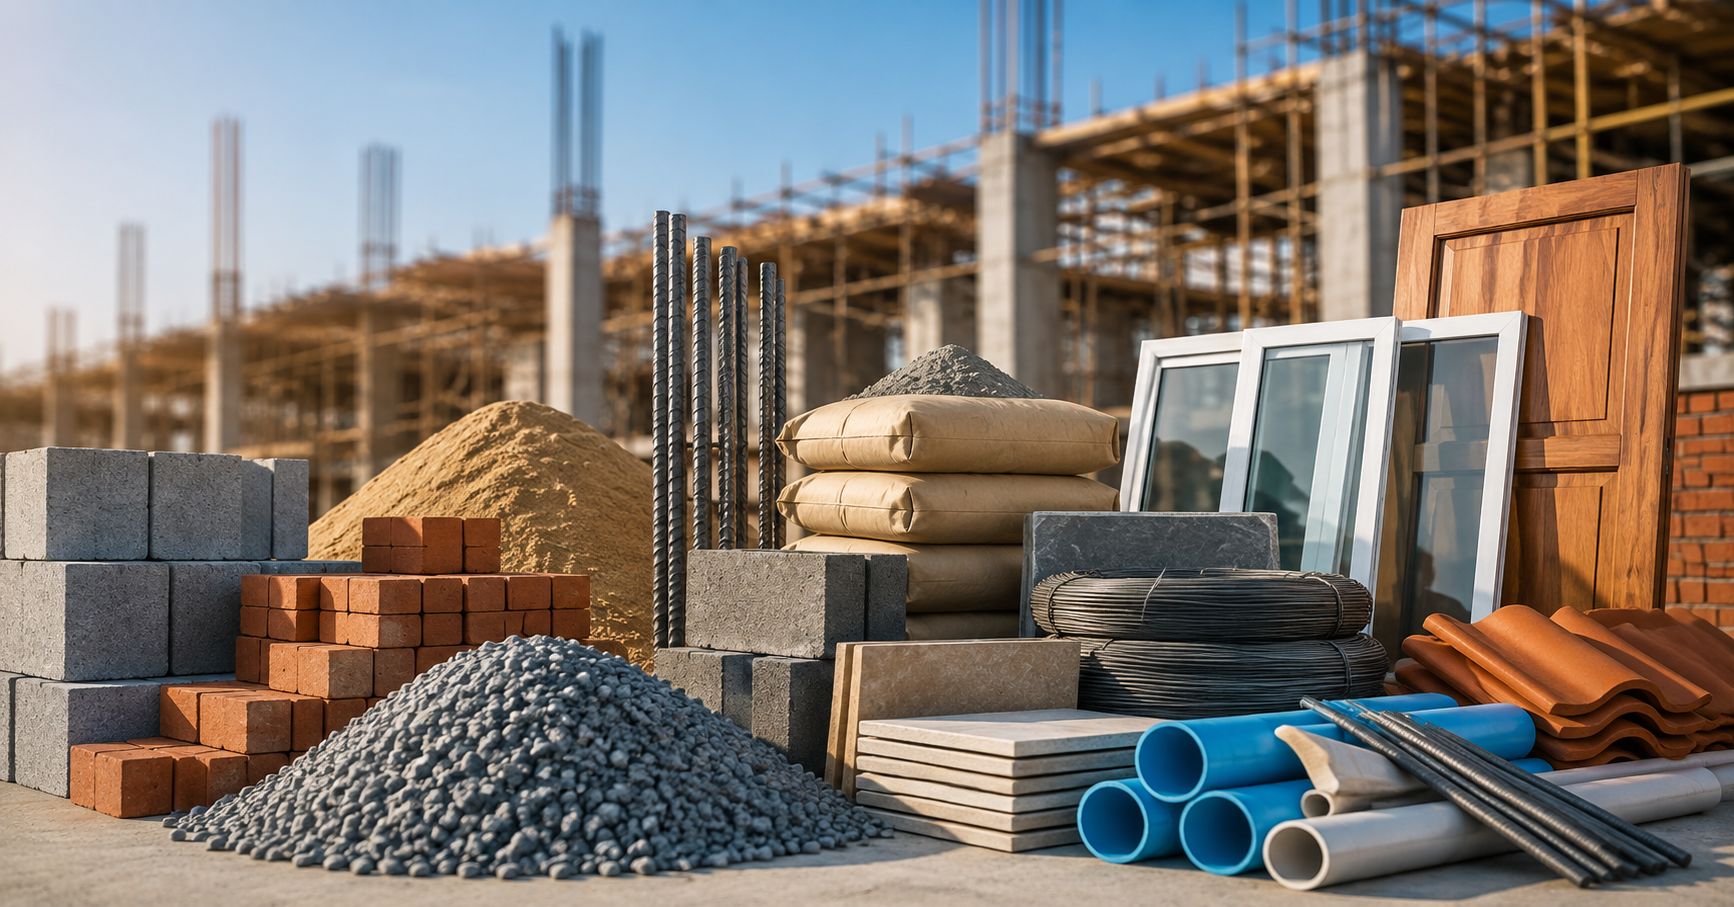
Common Materials Used in Building Construction
Some commonly used construction materials include:
- Cement
- Sand
- Aggregates
- Steel
- Bricks
- Concrete blocks
- Ready-mix concrete
- Tiles
- Stone
- Glass
- Wood
- Paint
- Waterproofing materials
- Plumbing materials
- Electrical materials
The selection should depend on the design, structural requirements, application, durability, quality, and budget.
Common Building Construction Mistakes to Avoid
Beginners should be careful about the following mistakes:
1. Starting Without Proper Planning
Poor planning can lead to unnecessary expenses and delays.
2. Ignoring Soil Conditions
Foundation design should consider the site's ground conditions.
3. Choosing Materials Only by Price
The cheapest material is not always the most suitable option.
4. Making Frequent Design Changes
Changes during construction can increase labour, material, and time costs.
5. Ignoring Waterproofing
Waterproofing problems can become expensive to repair after finishing work is completed.
6. Poor Quality Supervision
Construction should be monitored regularly to identify issues early.
7. Not Keeping a Contingency Budget
Unexpected expenses are common in construction, so some financial buffer is useful.
8. Poor Documentation
Keep records of drawings, estimates, payments, material purchases, approvals, and other important project documents.
How to Control Building Construction Costs
A realistic budget is one of the best ways to control construction expenses.
You can improve cost control by:
- Preparing detailed estimates
- Comparing material prices
- Planning purchases
- Reducing material wastage
- Avoiding unnecessary design changes
- Monitoring labour expenses
- Checking work progress regularly
- Maintaining payment records
- Keeping a contingency fund
Most importantly, cost cutting should not compromise structural safety or essential construction quality.
Conclusion
A successful building construction process starts with proper planning and continues with quality materials, skilled workmanship, regular inspections, and professional supervision. Understanding each stage helps you make informed decisions and avoid common construction mistakes.
Planning to build your dream home or a new project? Choose the right construction partner for a smooth and reliable journey. RR INFRA is committed to planned execution, quality workmanship, and professional construction services. Get in touch with RR INFRA today and take the first step toward building with confidence.